BUILD JOURNAL / PART TWOFIELD NOTE / 01 · 19 OCTOBER 2026
A workshop under canvas
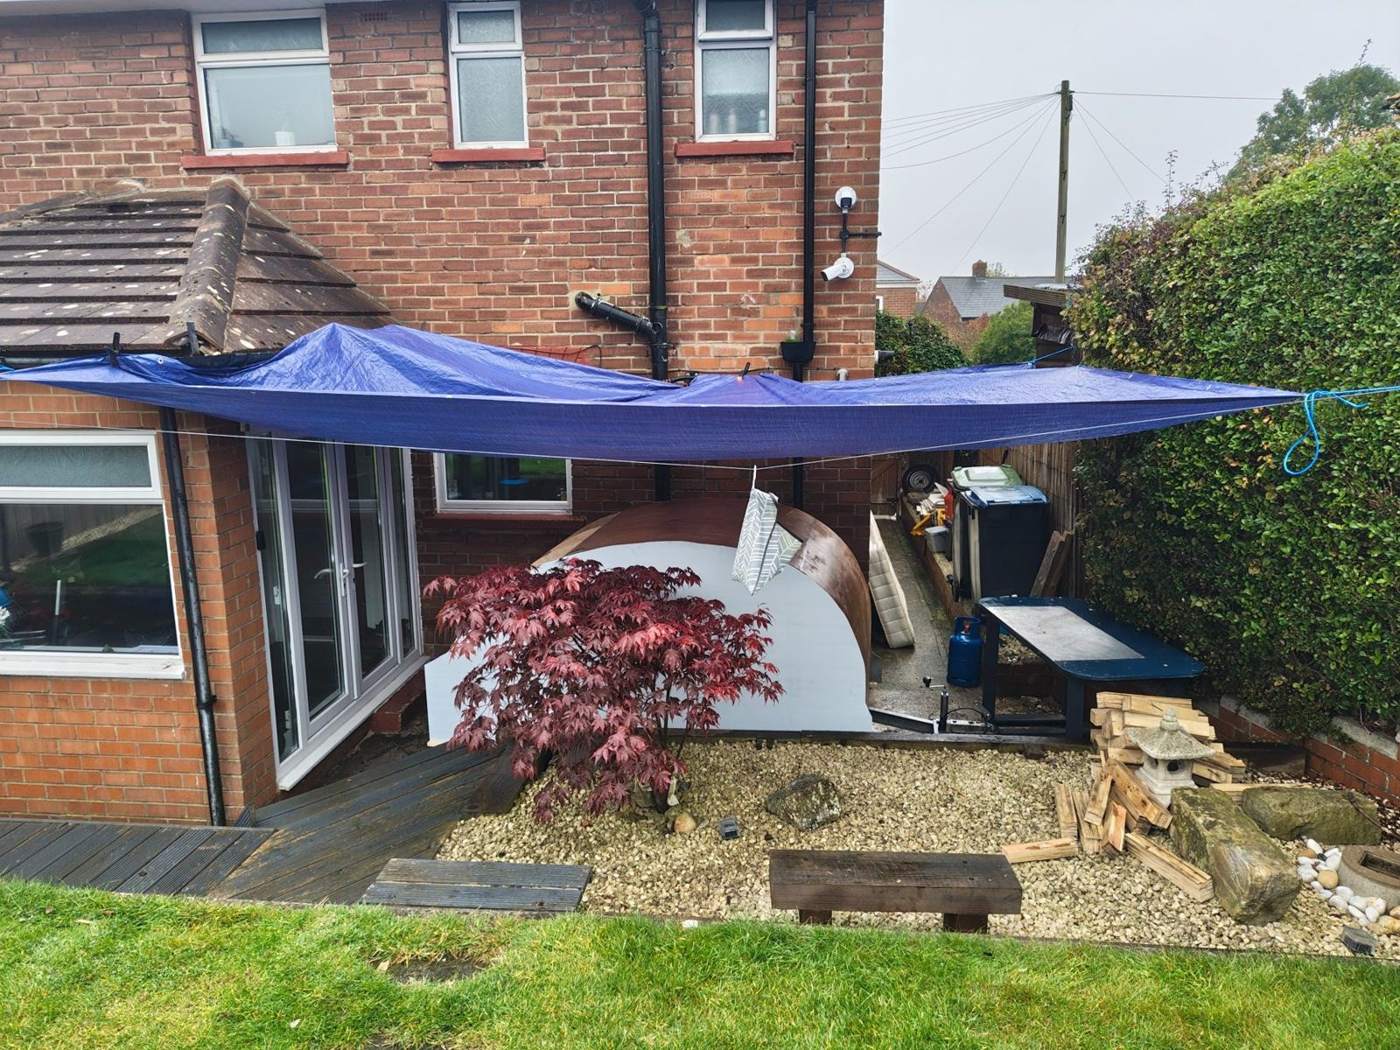
The weather had other ideas.
With the weather turning, I needed a makeshift camp to keep the work moving. A blue tarpaulin strung across the garden became my homemade shelter. The plan is to get the outside of the trailer finished before winter sets in, then leave the interior fit-out until spring. Not exactly a grand workshop, but it does the job.
✳ BUILT, NOT BOUGHT ✳
BUILD JOURNAL / PART TWOFIELD NOTE / 02 · 20 OCTOBER 2026
Tools of the trade
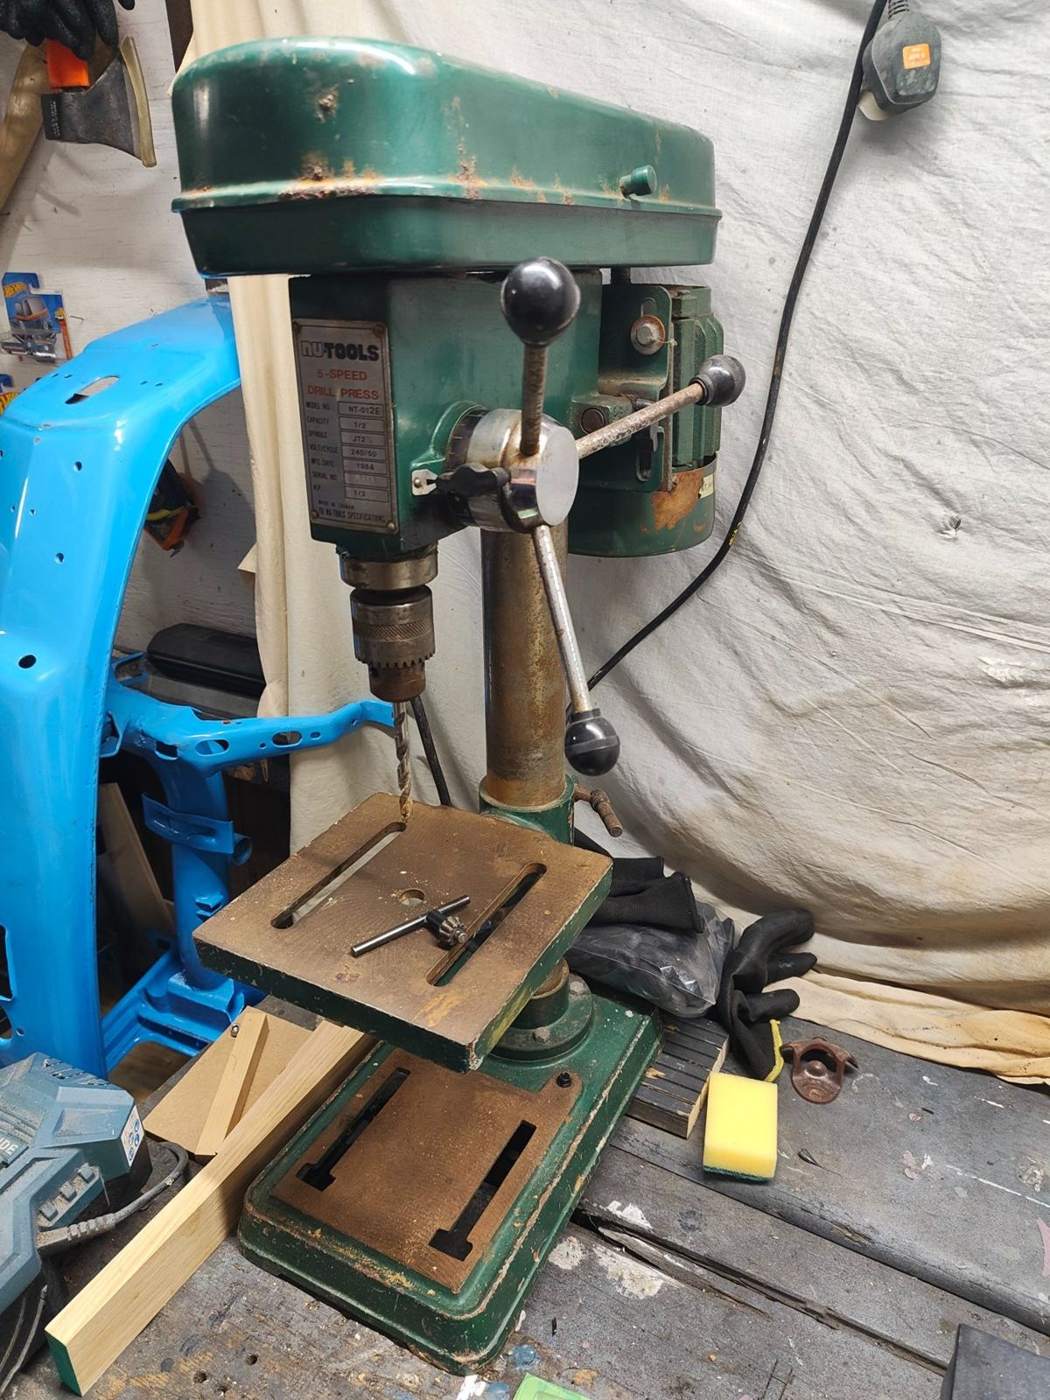
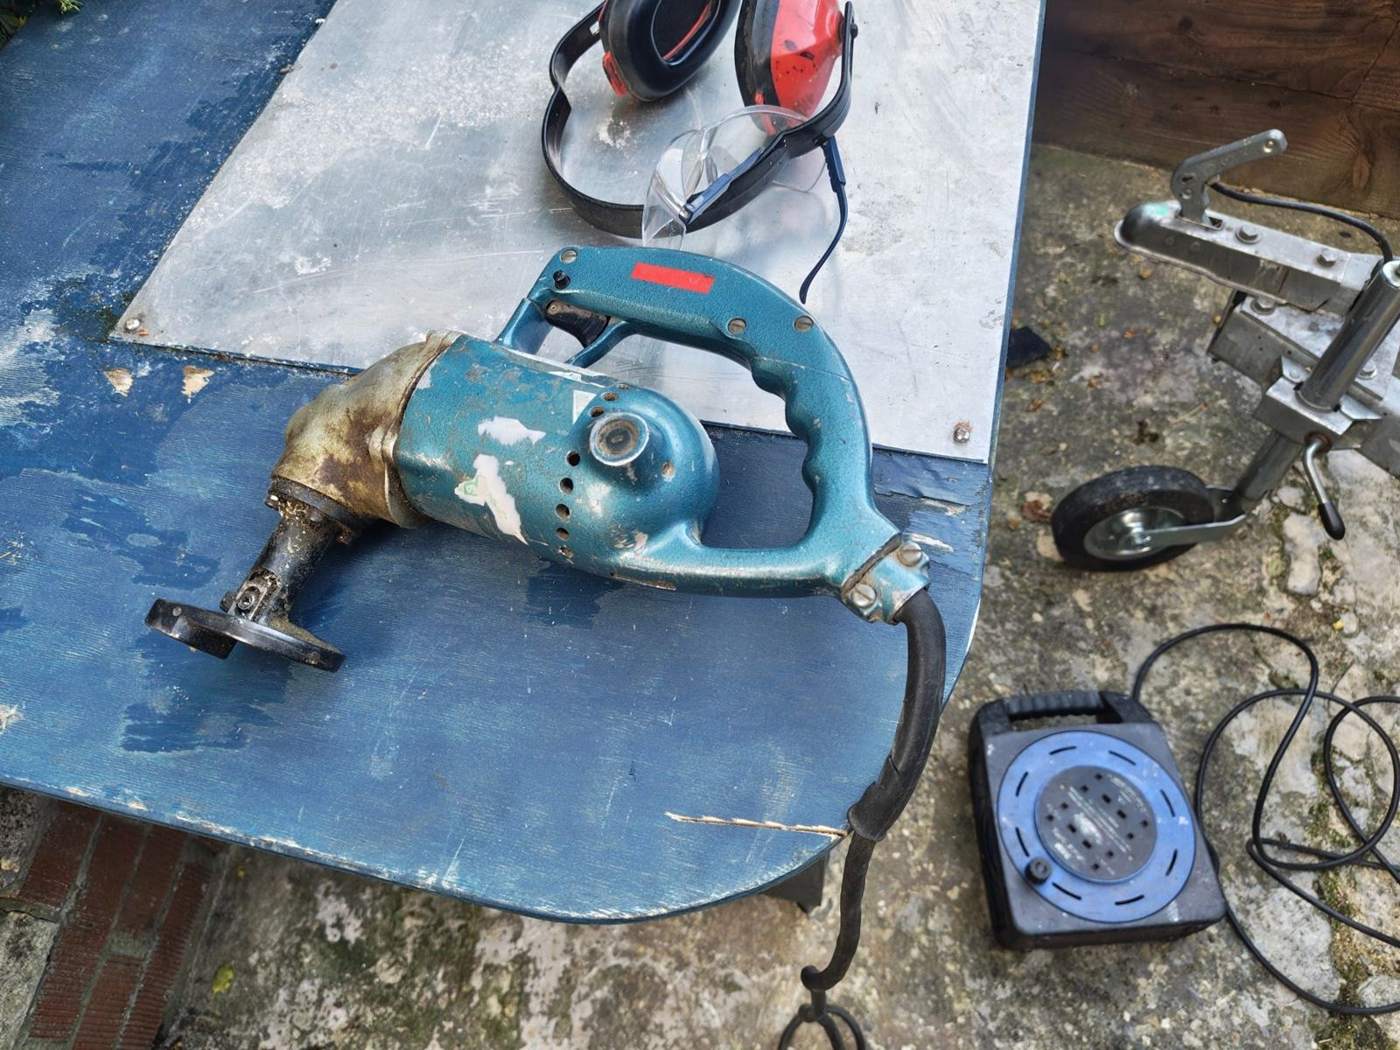
Old tools. Still earning their keep.
Aluminium skinning calls for accurate holes and careful cuts, which meant bringing out two old favourites: the pillar drill and the metal cutter. Both are ancient, both have seen better-looking days, and neither has been bettered in my workshop. Sometimes the tried-and-tested kit is exactly what you need.
✳ BUILT, NOT BOUGHT ✳
BUILD JOURNAL / PART TWOFIELD NOTE / 03 · 21 OCTOBER 2026
The aluminium arrives
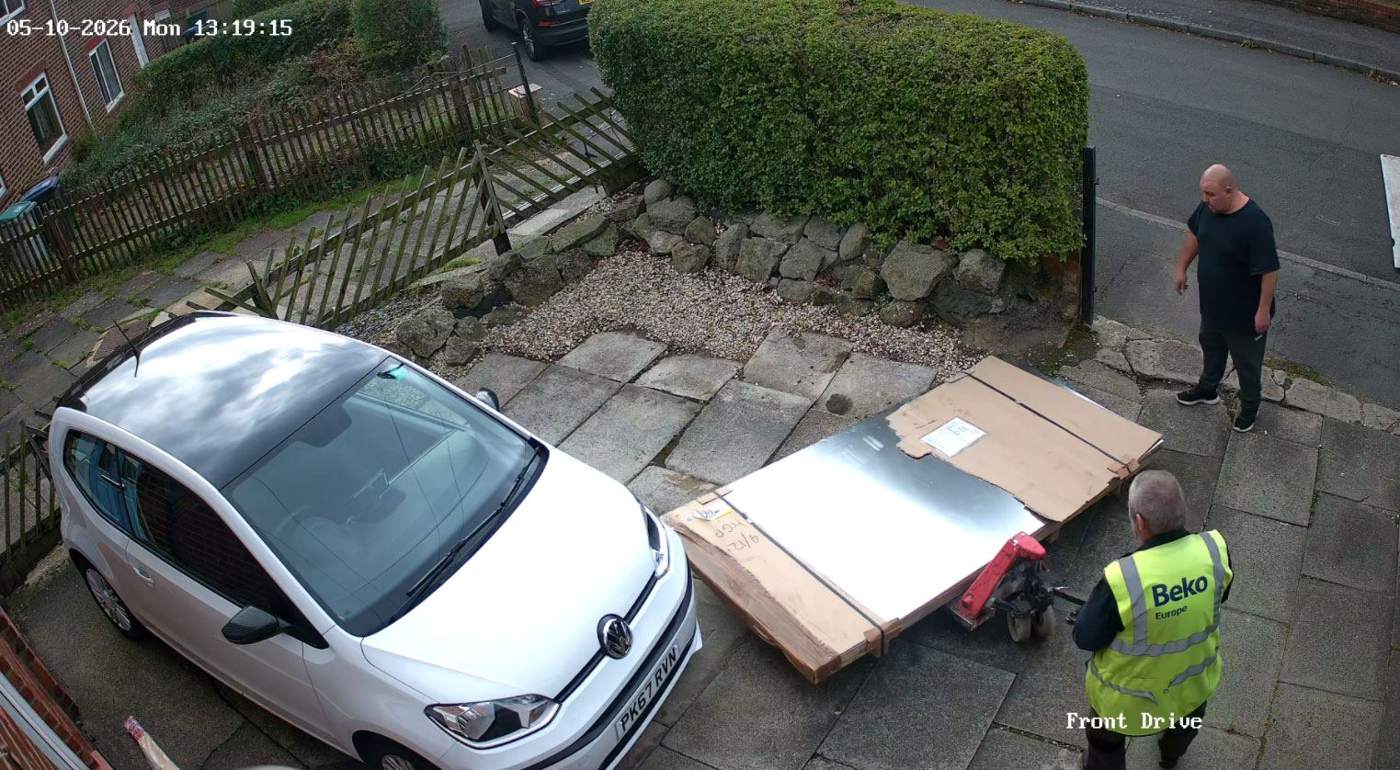
A big delivery for a little trailer.
After getting the trusty old tools ready, the next exciting moment was the arrival of the aluminium sheets. Seeing the metal delivered in one enormous flat package really brought home how much work lay ahead — but also how close the trailer was getting to its finished outer shape. Now for the careful measuring, cutting and fitting.
✳ BUILT, NOT BOUGHT ✳
BUILD JOURNAL / PART TWOFIELD NOTE / 04 · 22 OCTOBER 2026
Every prop in the place
If it could hold a panel, it was recruited.
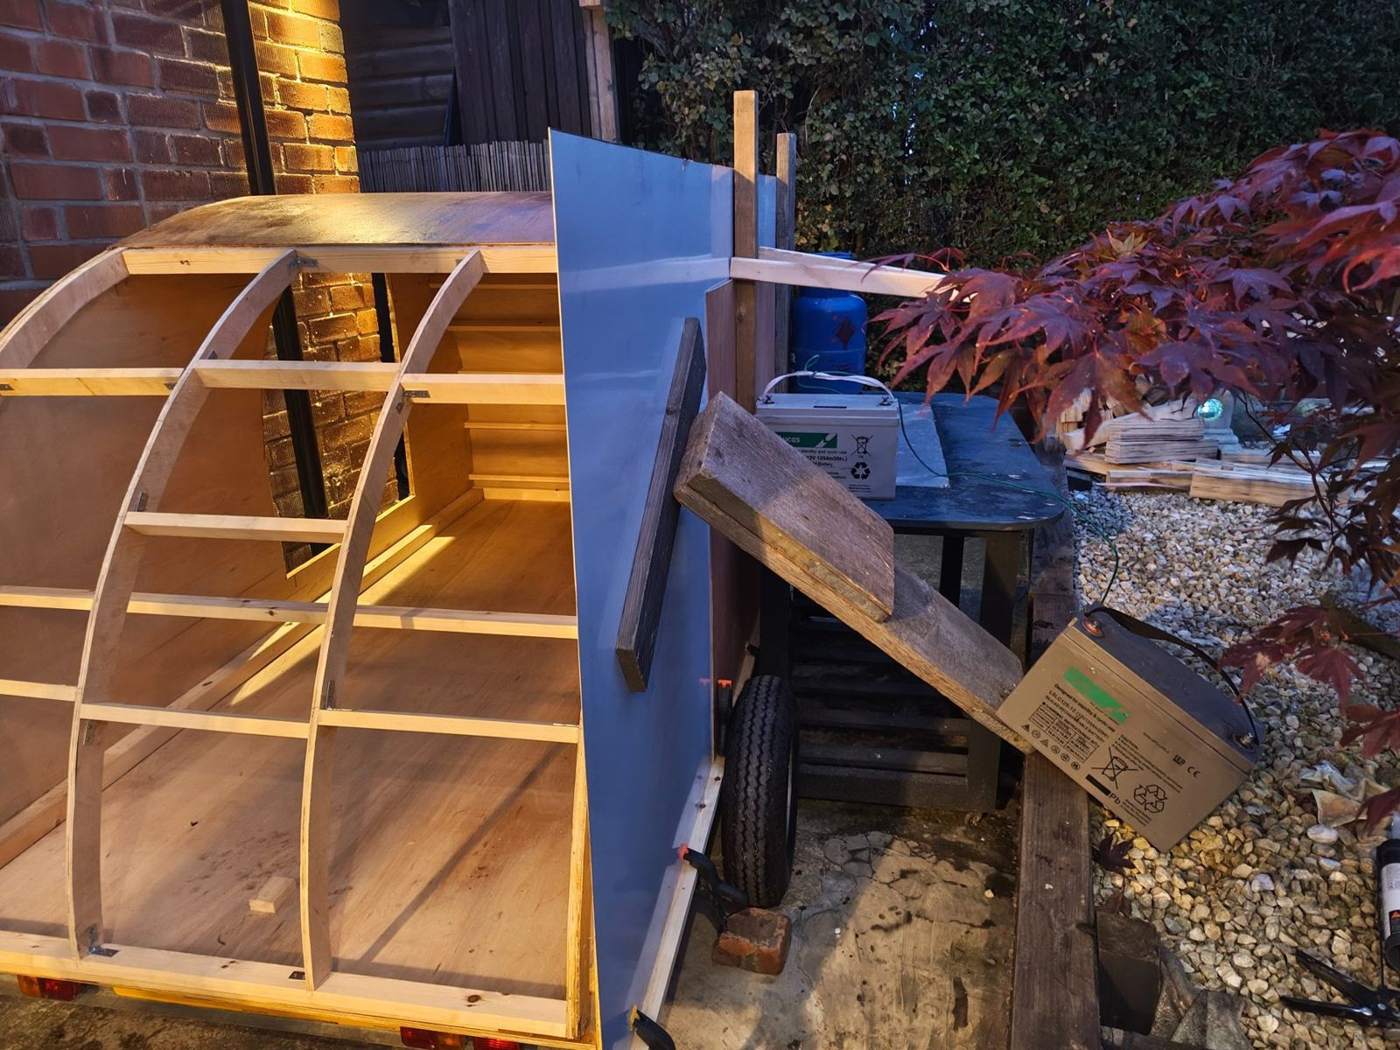
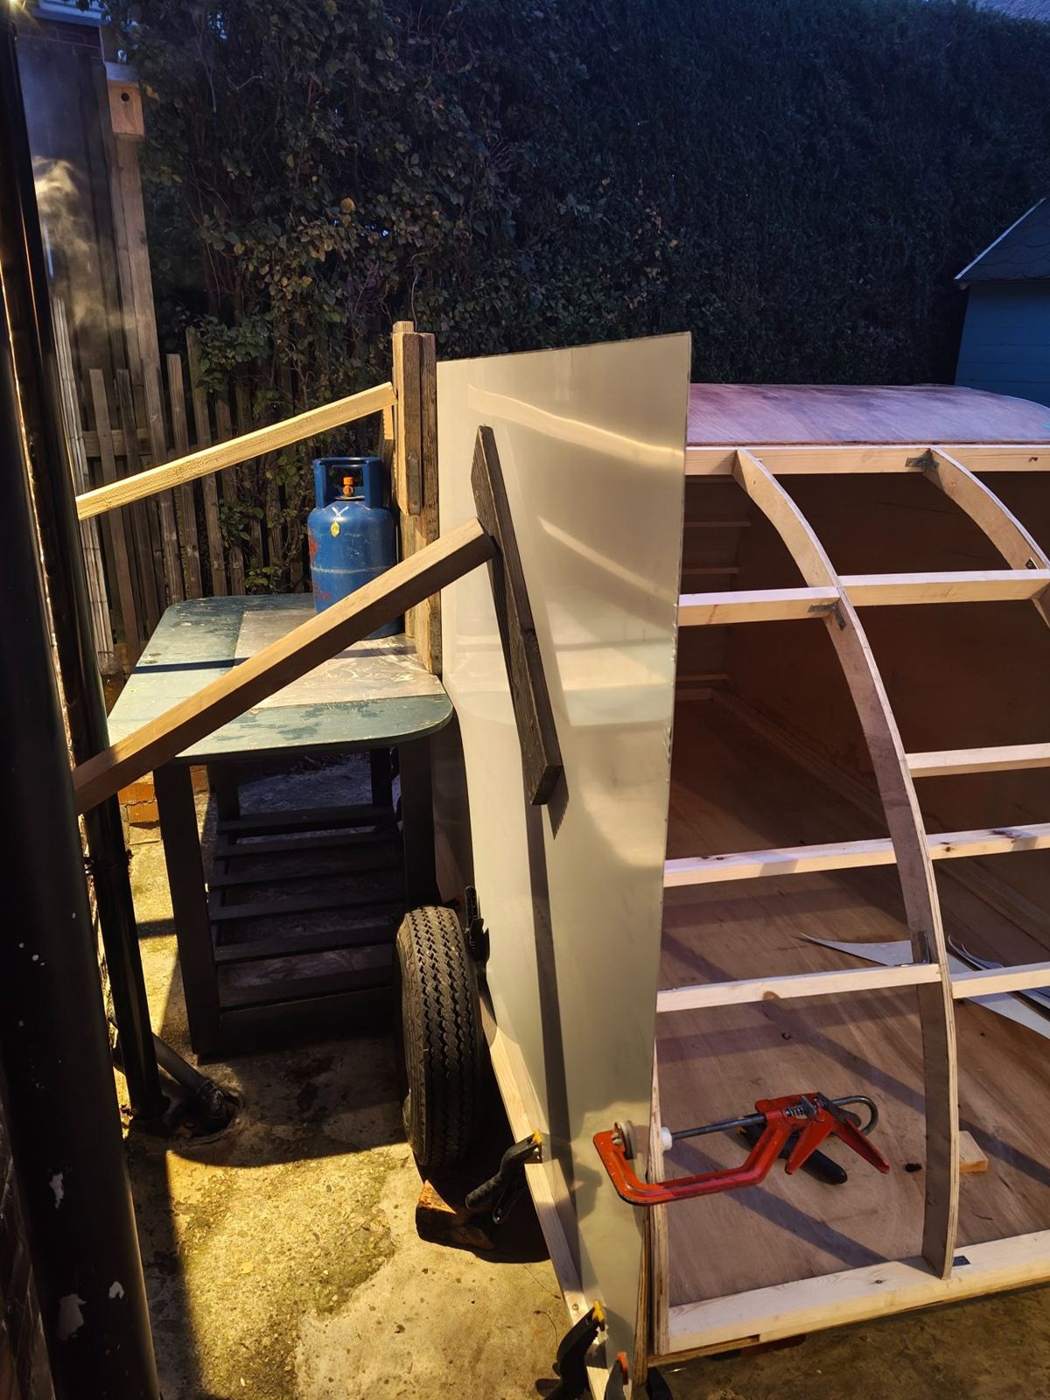
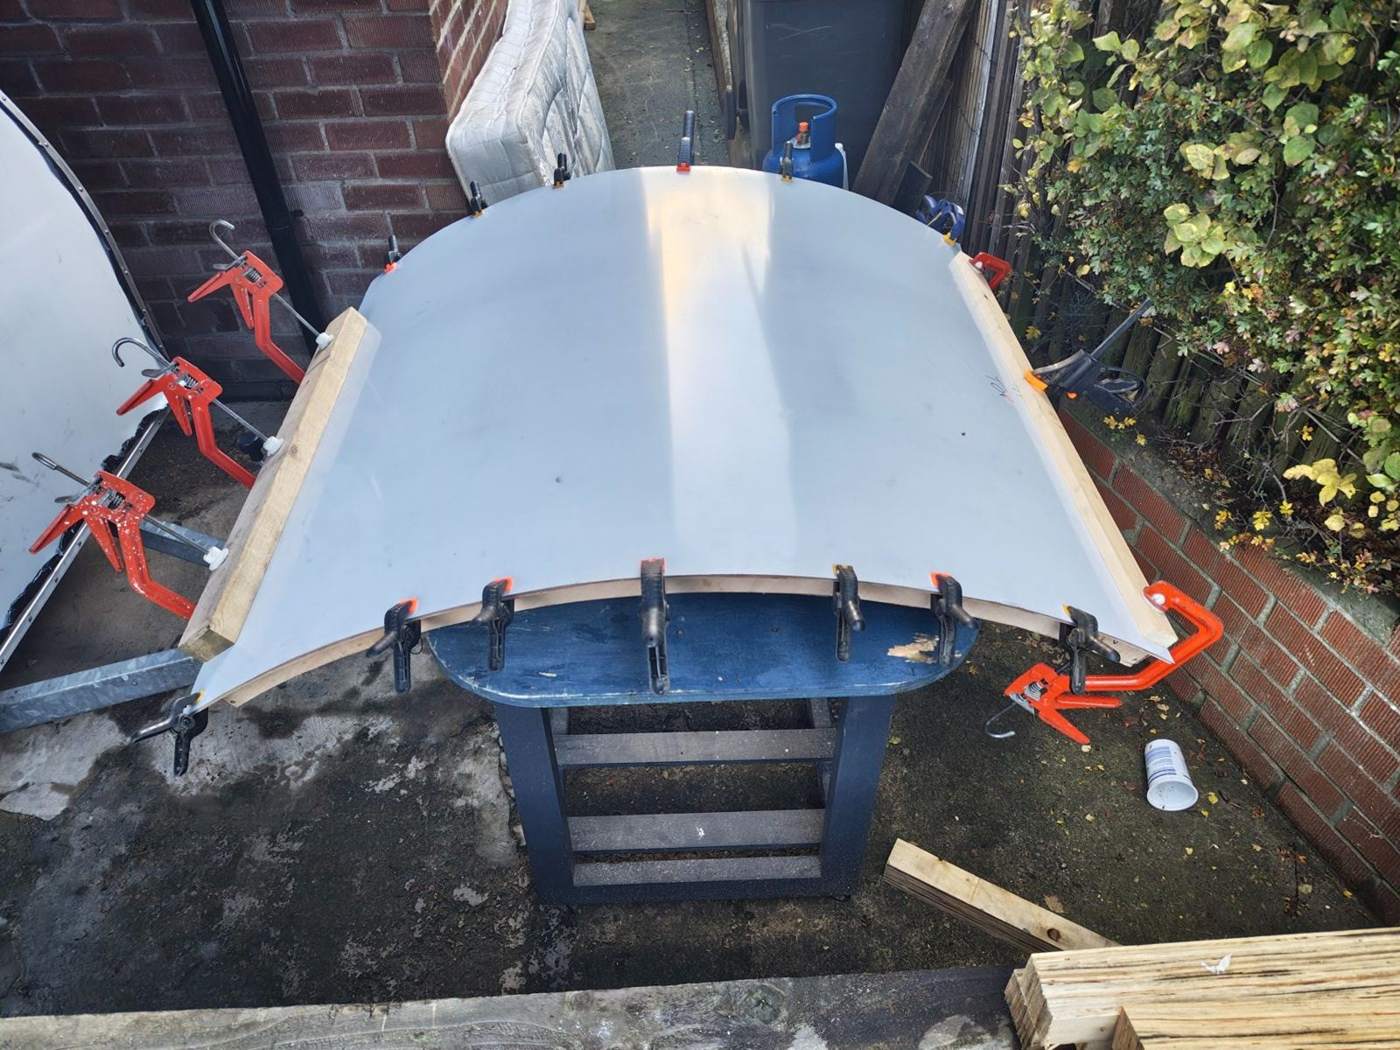
The side sheets needed to stay firmly in position while the adhesive bonded. That meant using just about every clamp, length of timber and improvised prop I could find. It wasn’t elegant, but keeping those big sheets pressed against the curved frame was the important bit.
✳ BUILT, NOT BOUGHT ✳
BUILD JOURNAL / PART TWOFIELD NOTE / 05 · 23 OCTOBER 2026
Skin on, edges trimmed
From plywood to aluminium.
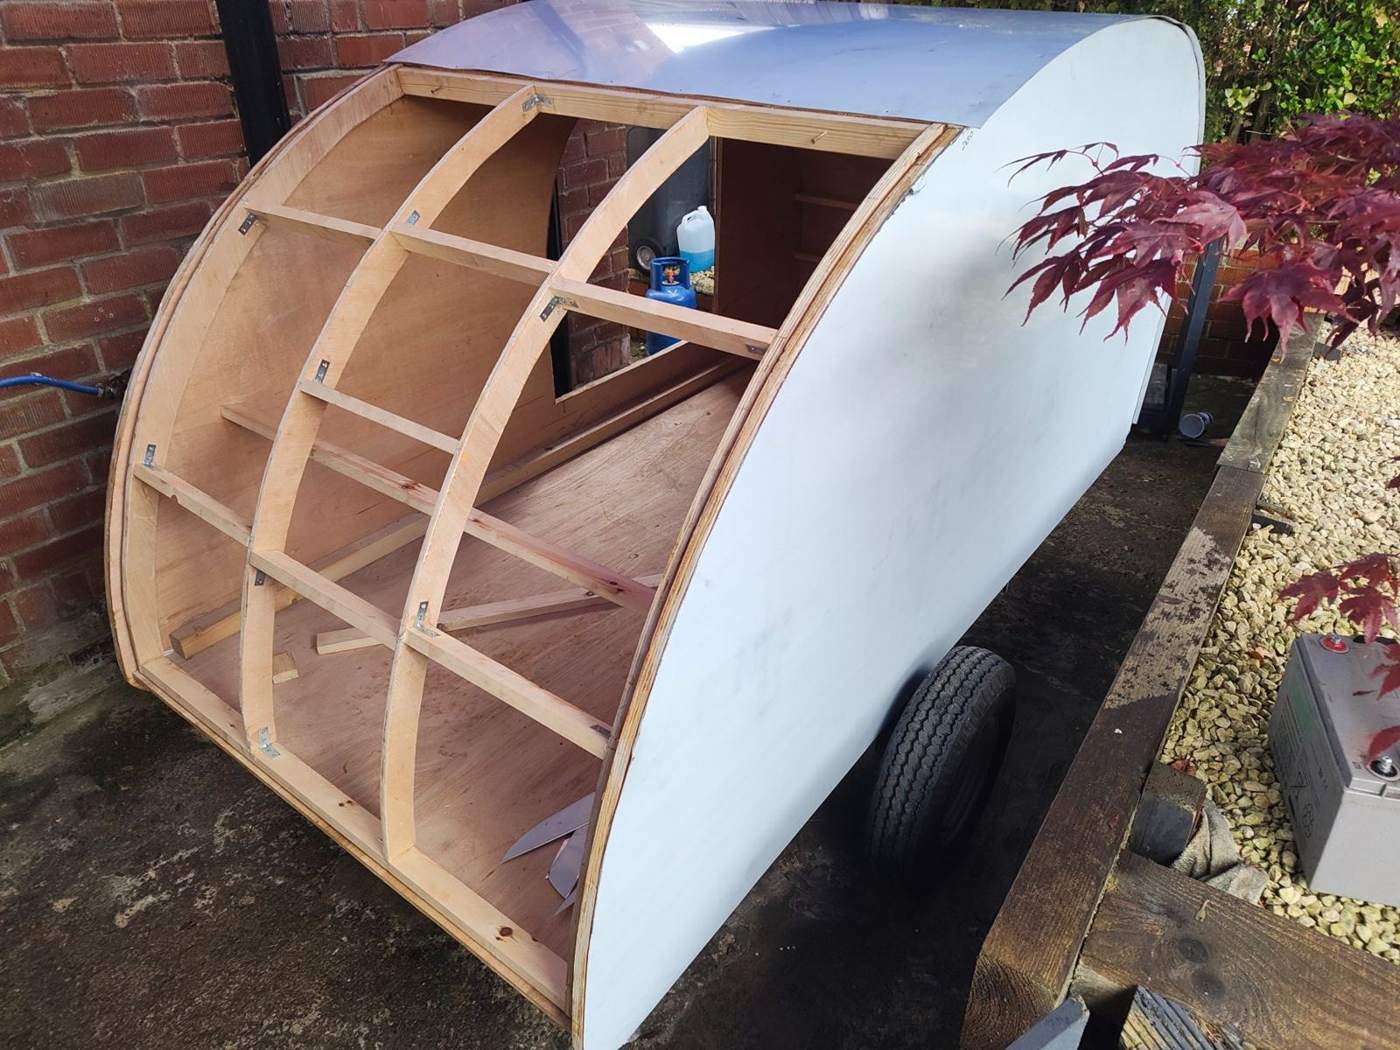
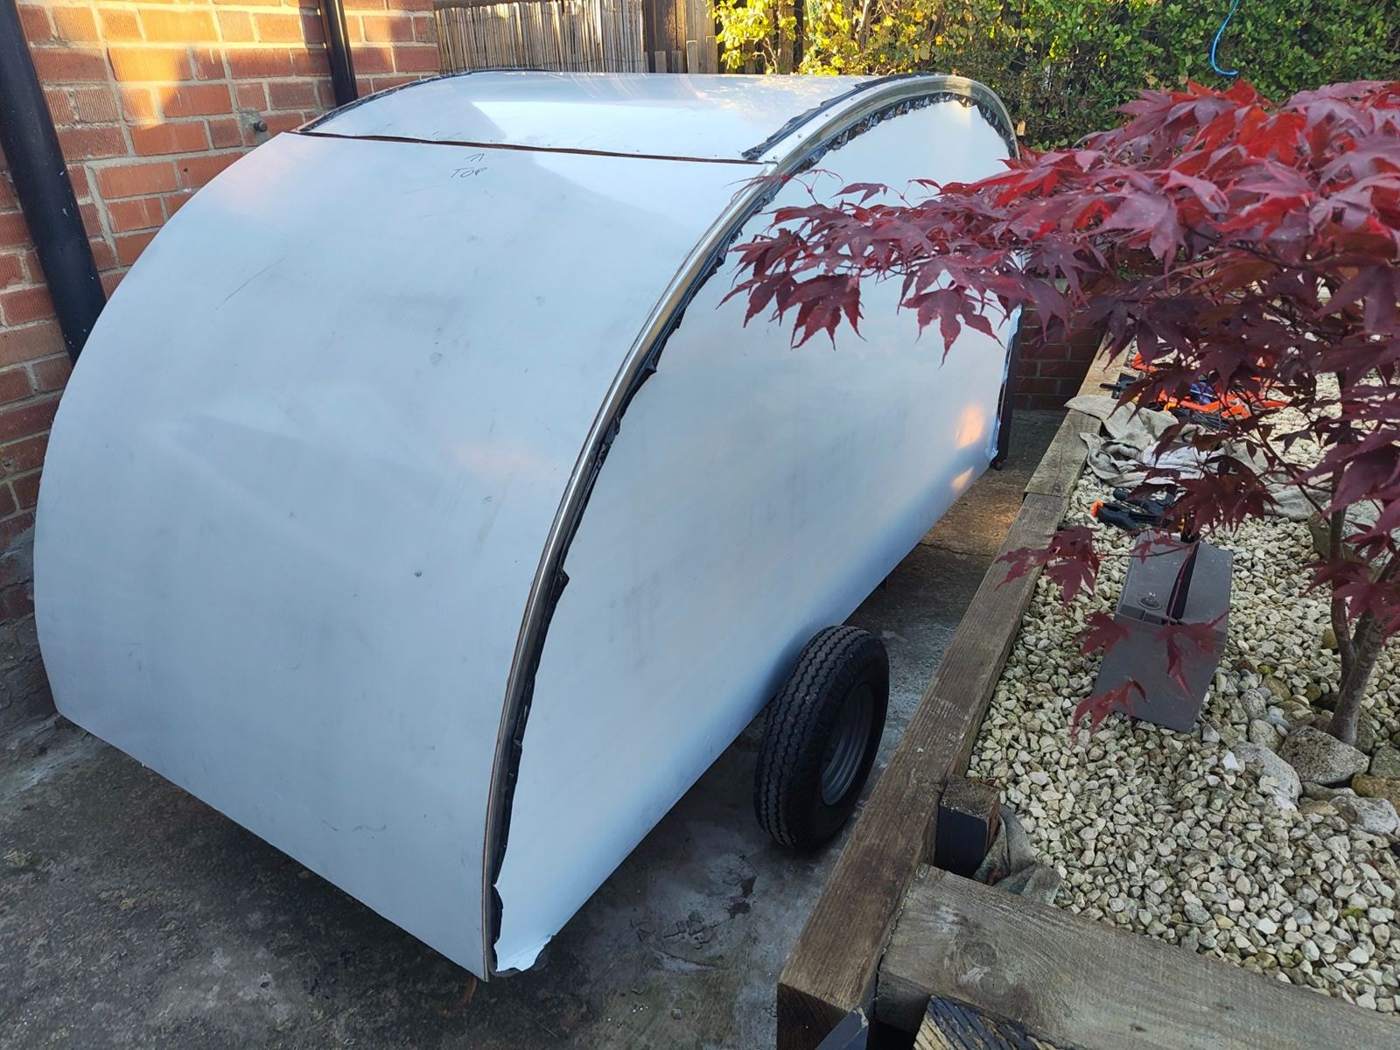
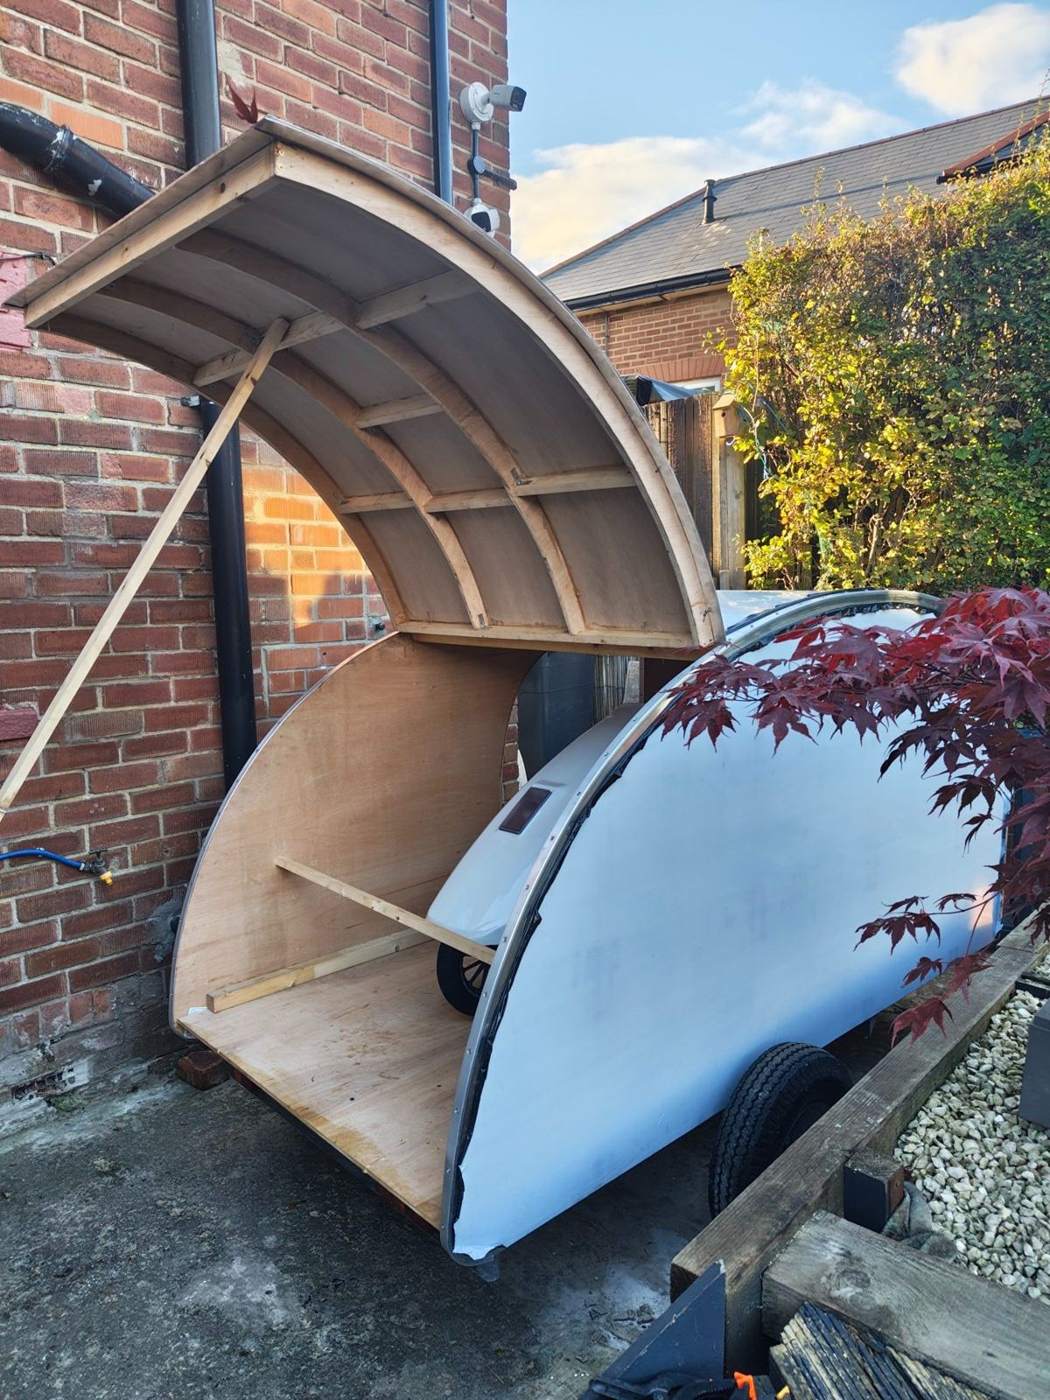
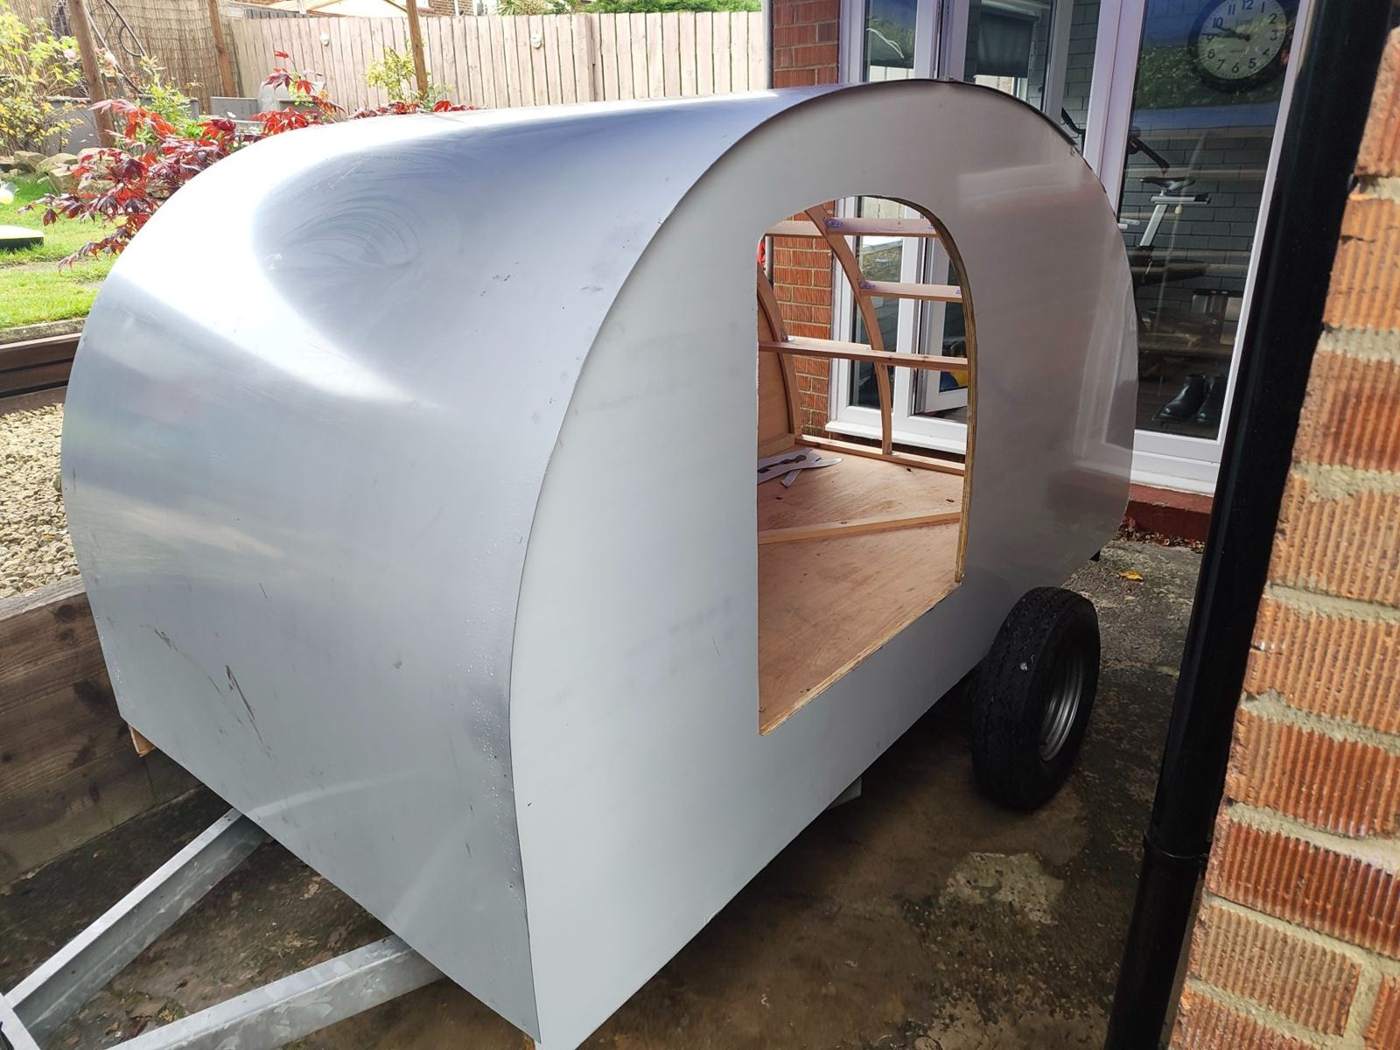
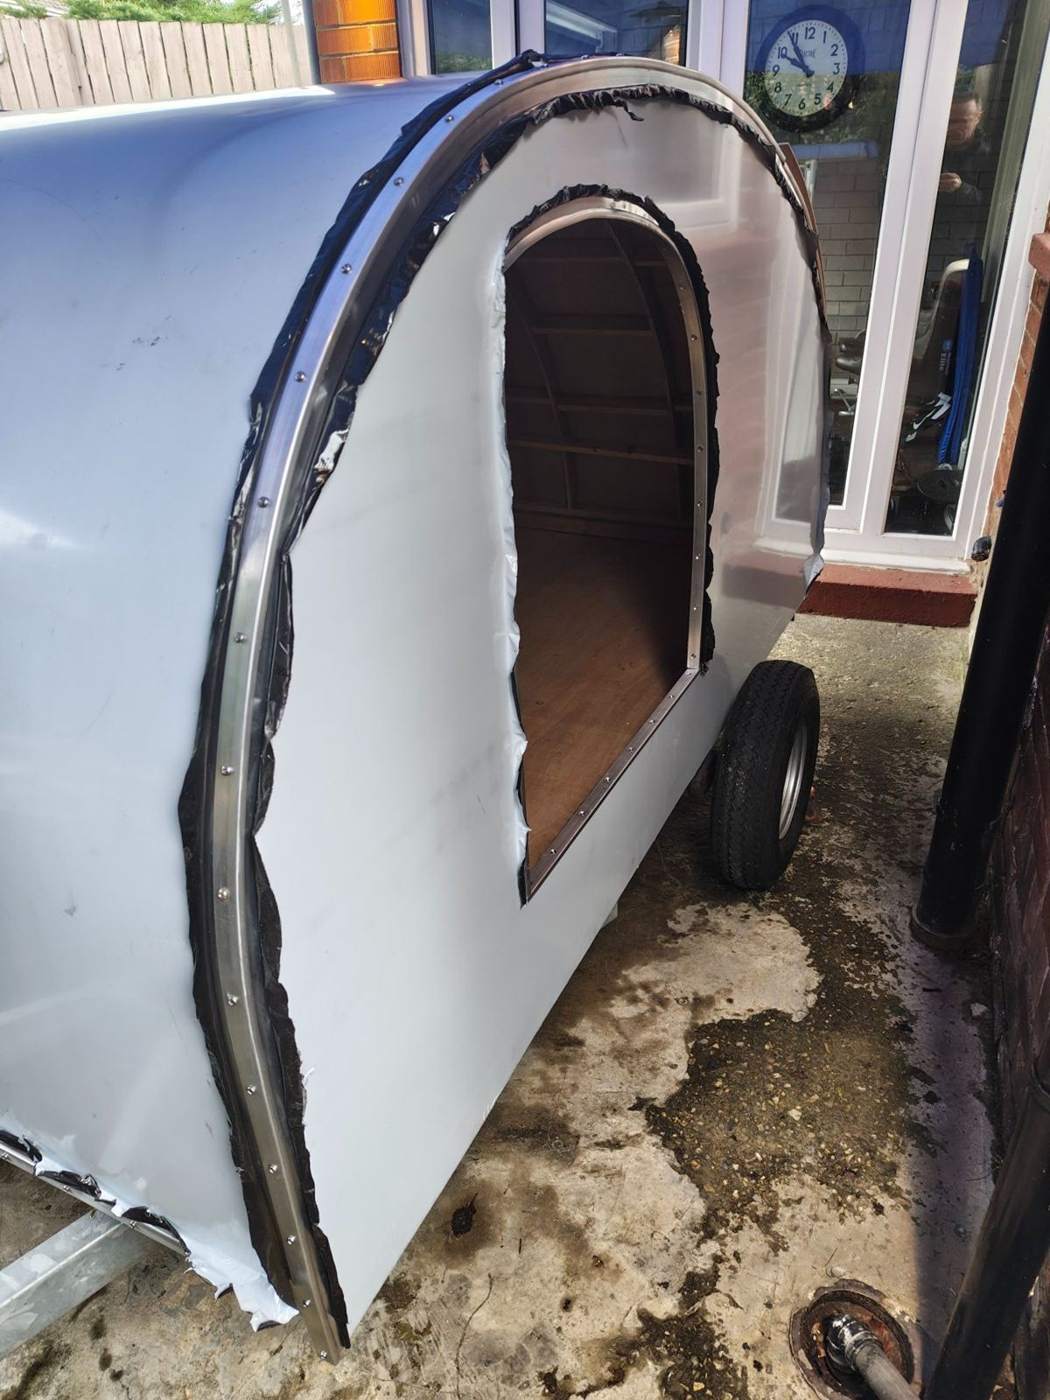
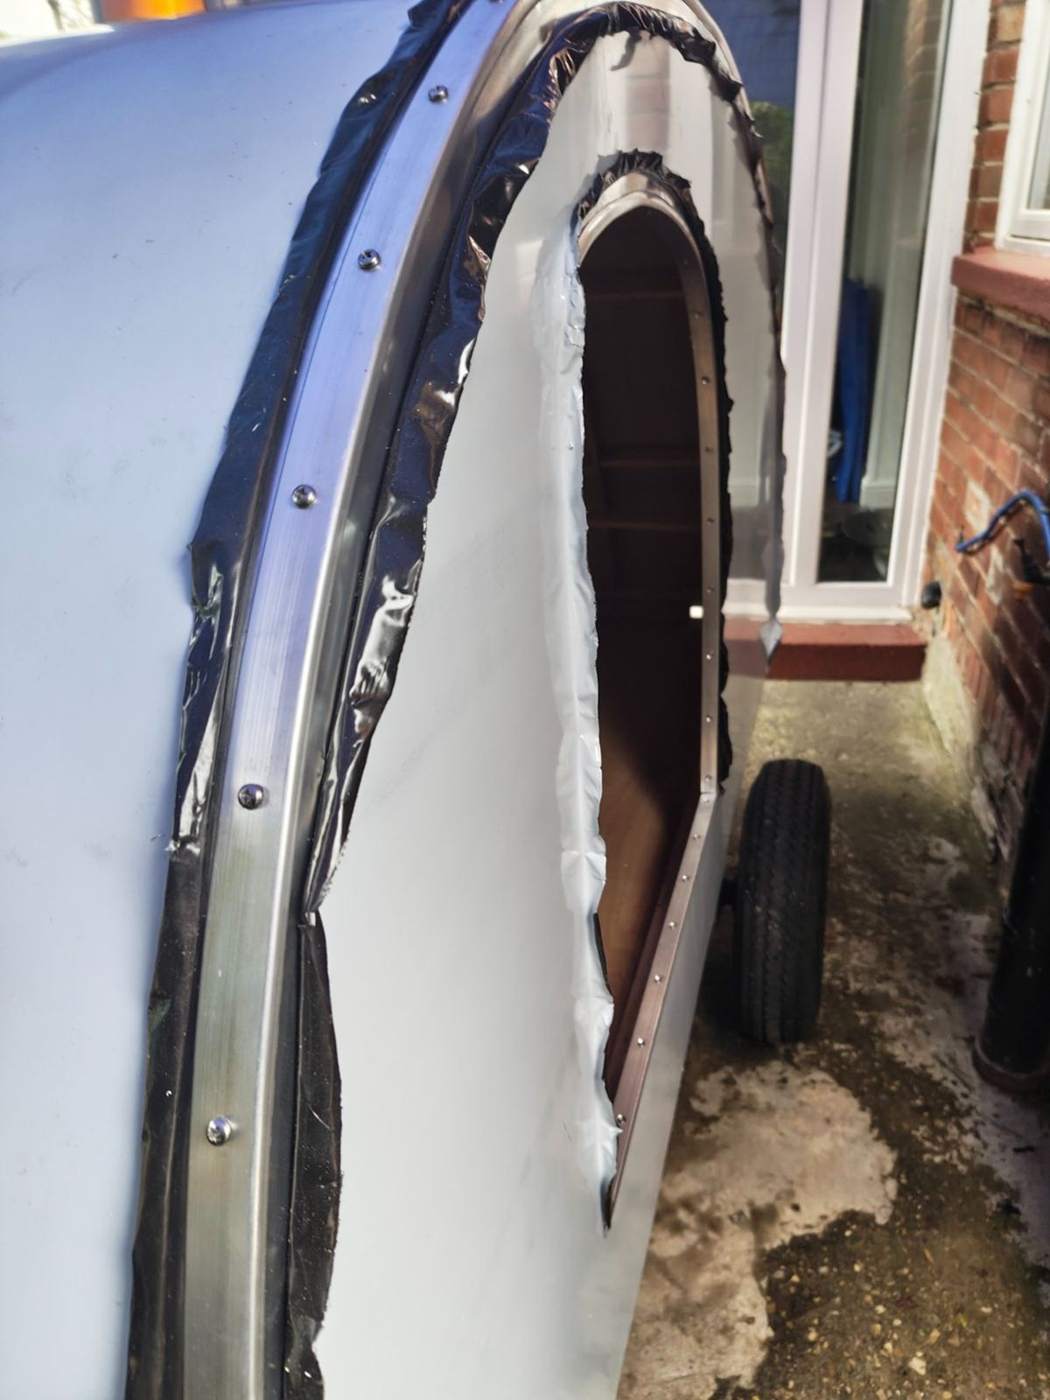
With the panels held in place and the adhesive given time to bond, the aluminium skins could be fitted and trimmed to the teardrop outline. The side opening needed its own careful cut, and the rear hatch got the same treatment. The photographs show the work in progress, from oversized sheets to much neater edges.
✳ BUILT, NOT BOUGHT ✳
BUILD JOURNAL / PART TWOFIELD NOTE / 06 · 24 OCTOBER 2026
The skin is complete
A proper milestone.
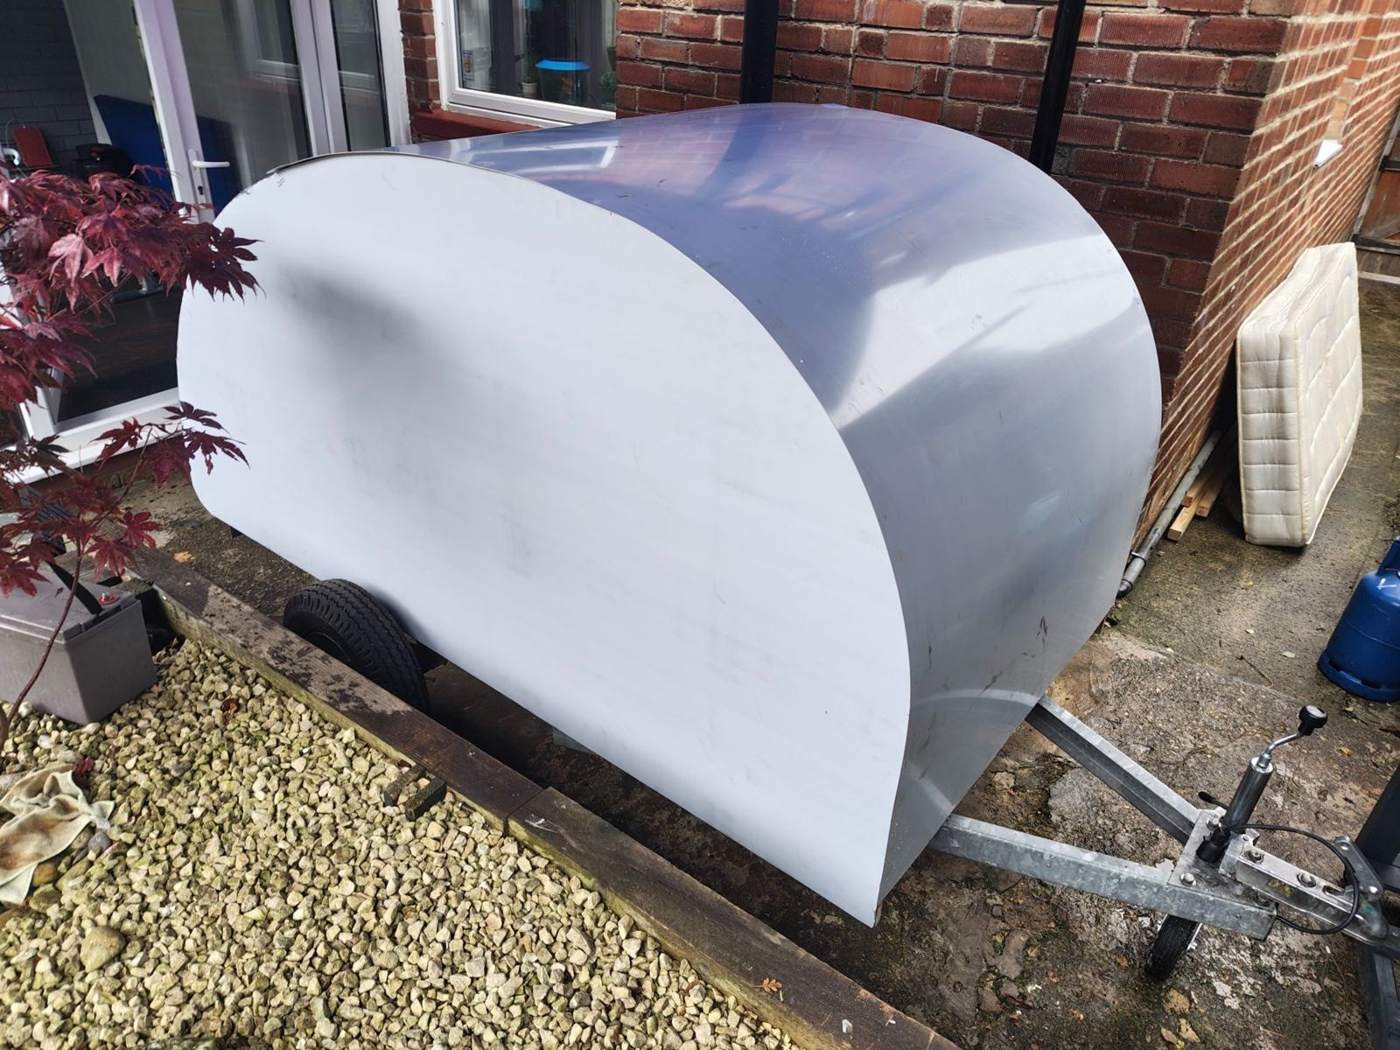
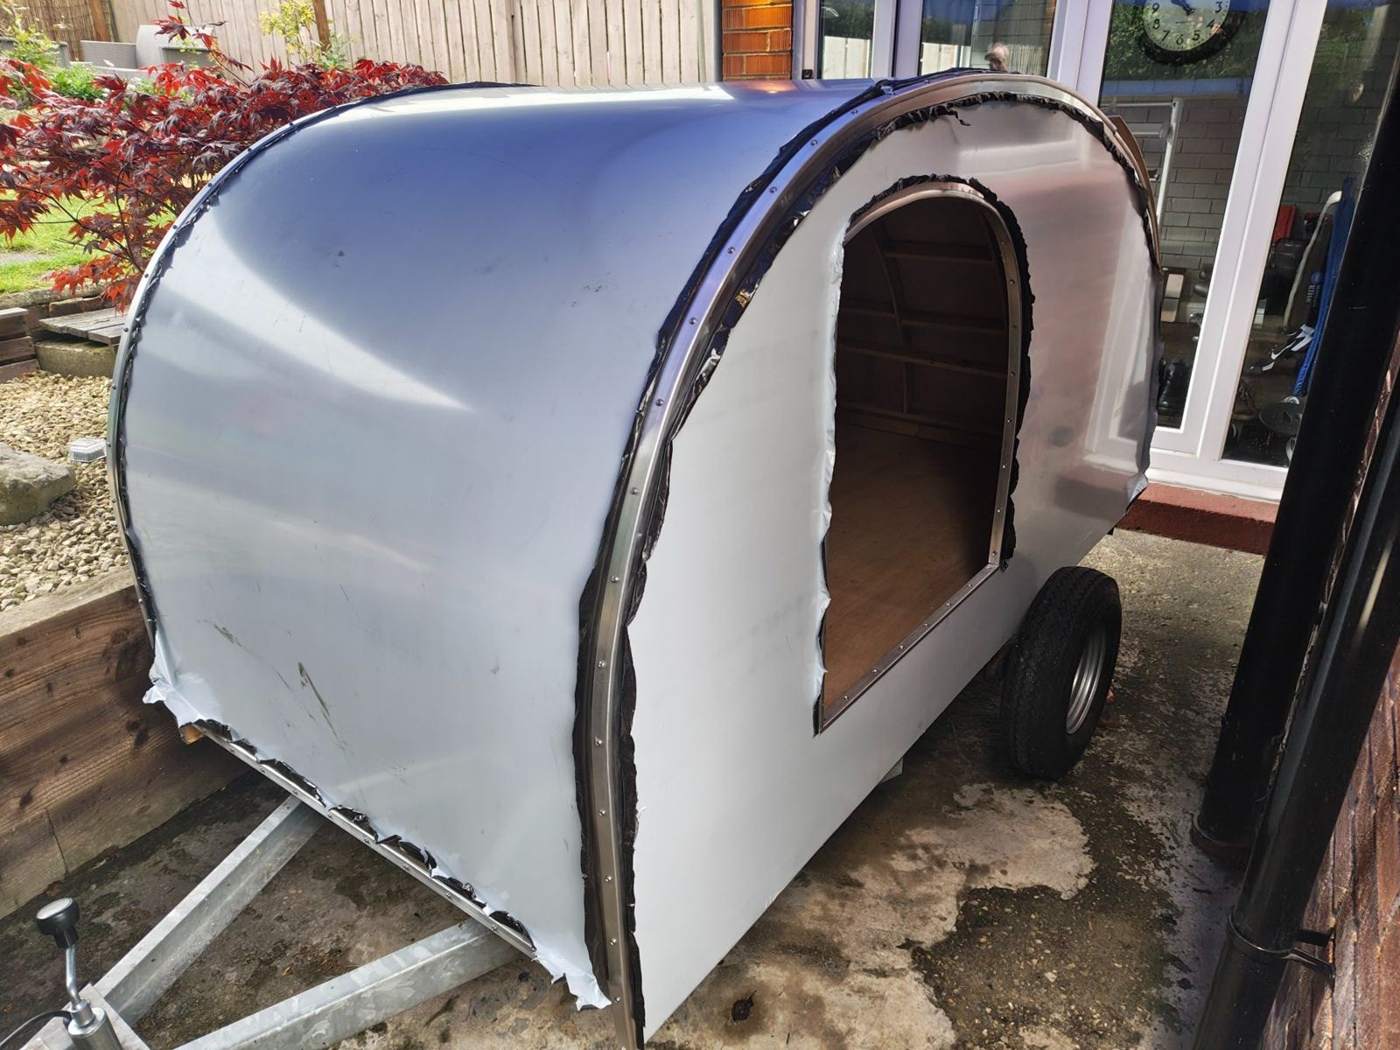
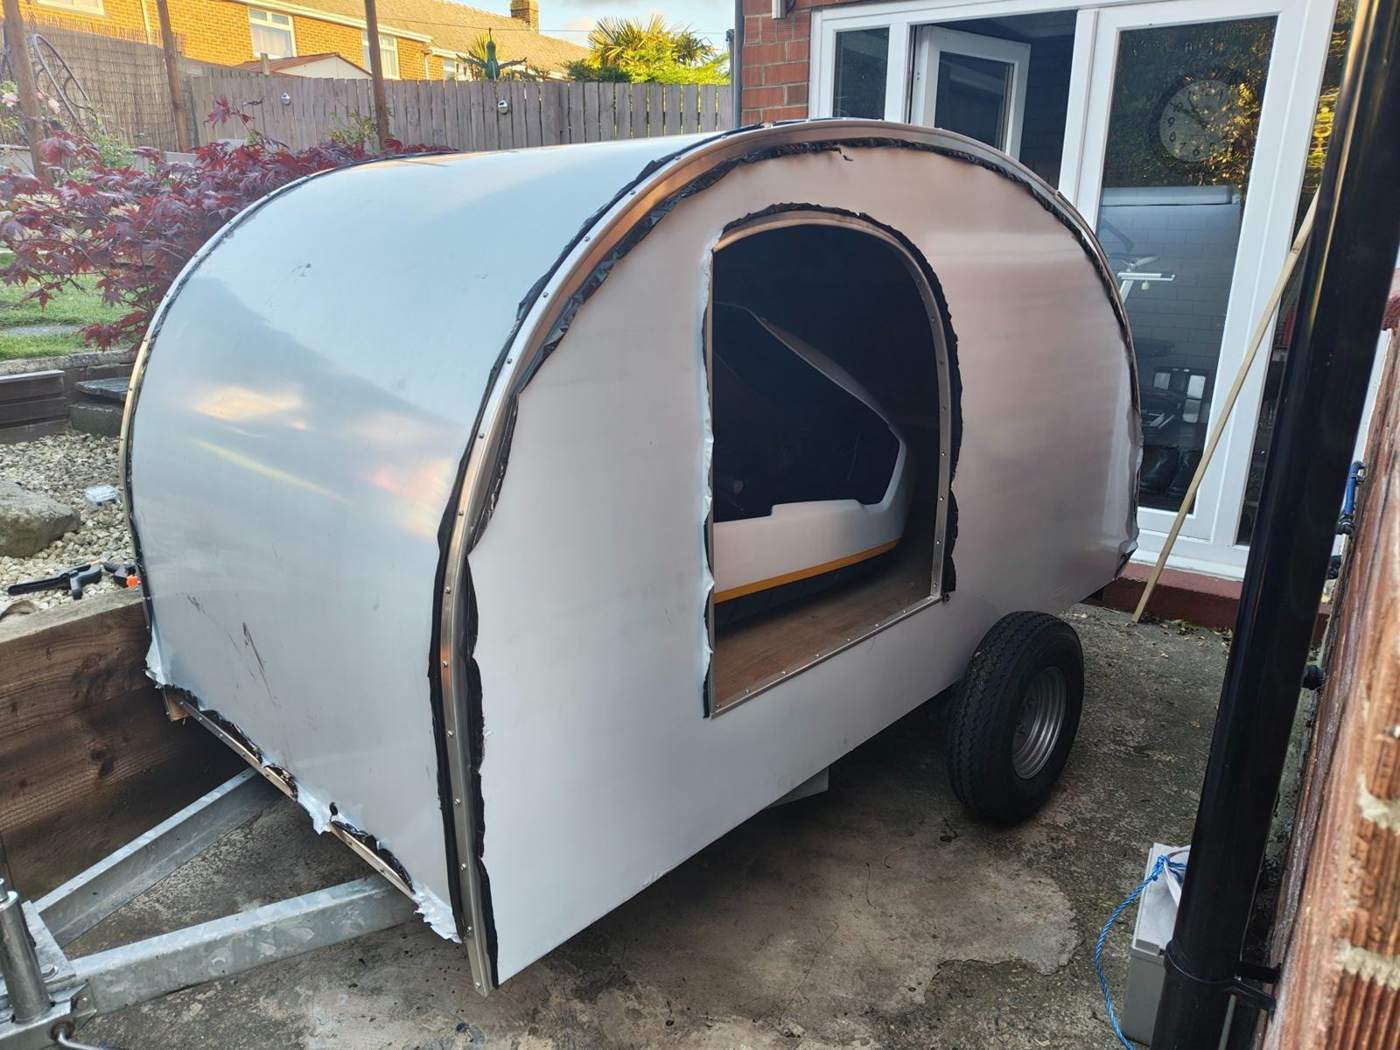
The aluminium skinning is now on, and the little trailer finally has the smooth, flowing shape I had in mind. It’s a big change from the exposed wooden framework. There’s still plenty of finishing to do, but standing back and seeing the shell covered feels like a major step forward.
✳ BUILT, NOT BOUGHT ✳
BUILD JOURNAL / PART TWOFIELD NOTE / 07 · 25 OCTOBER 2026
Finishing the edges
The details make the difference.
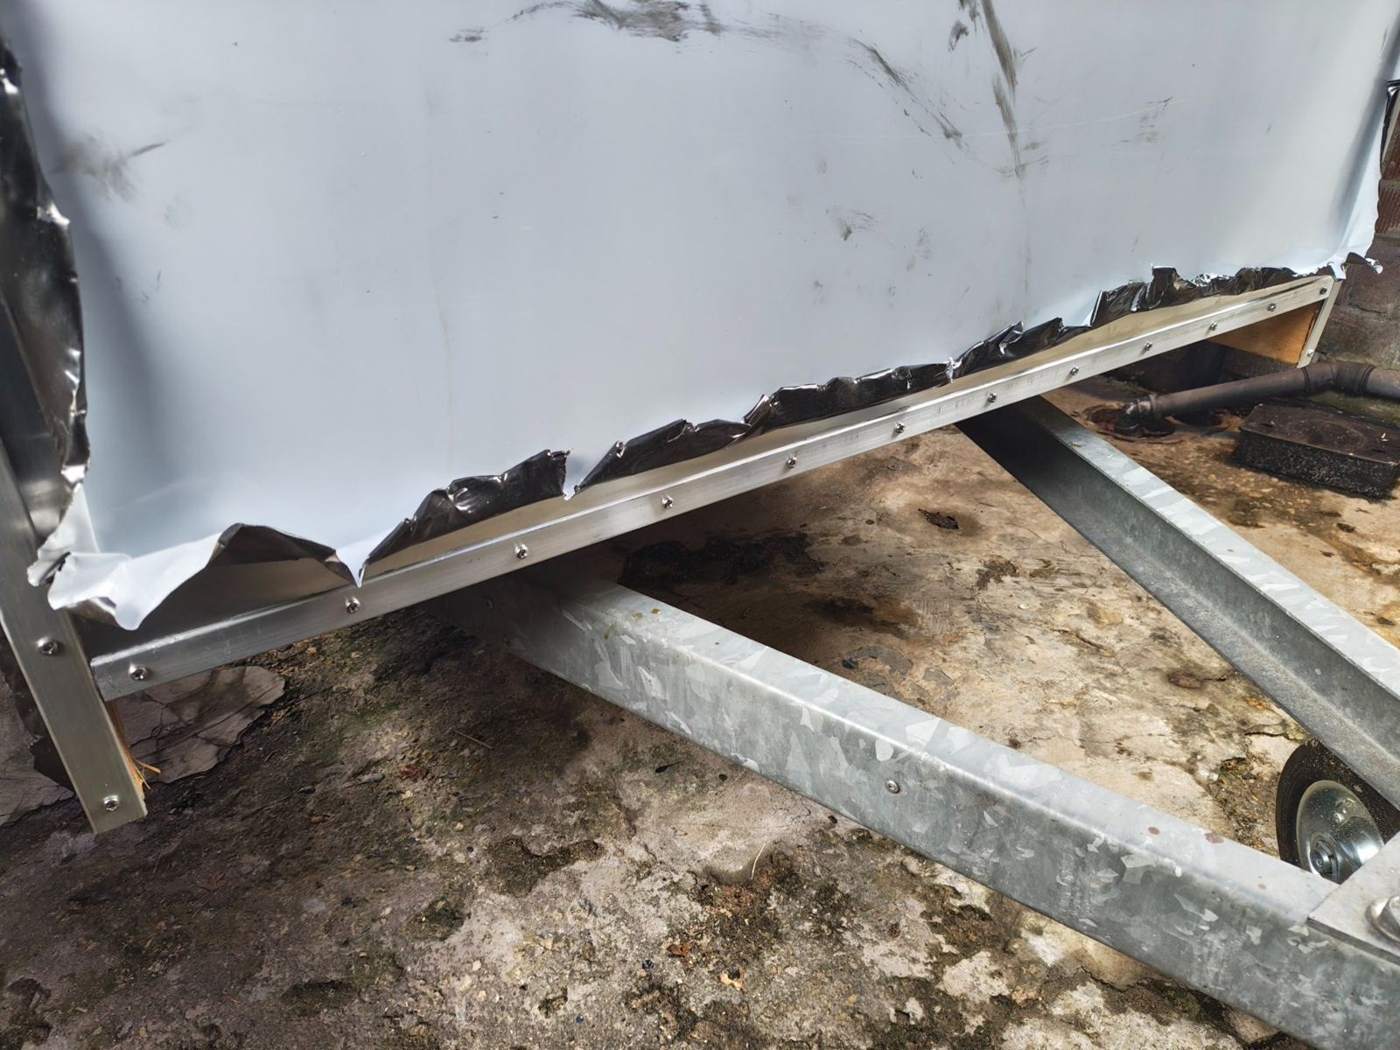
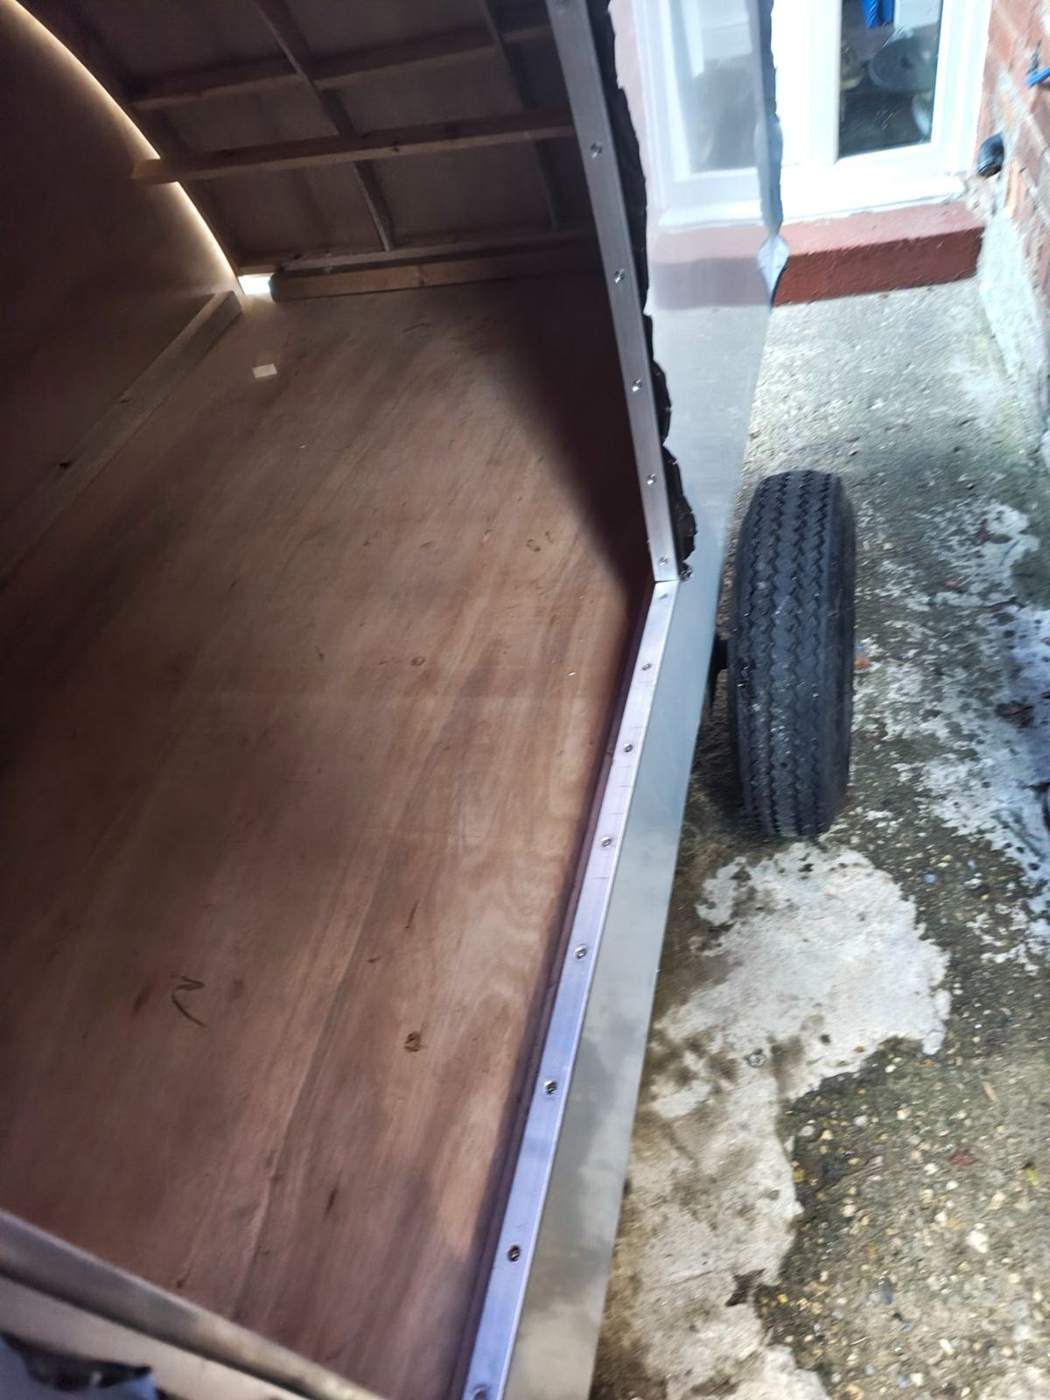
Next came the metal edging trims: carefully following the curves, fastening the perimeter and tidying the opening. It’s painstaking work, but those bright metal lines really set off the vintage profile. The white you can see on the panels is only the protective film over the aluminium — it isn’t the final finish. With the trims in place, the exterior shell is looking nearly complete. The door and rear hatch are still on the list.
✳ BUILT, NOT BOUGHT ✳